
When brand new entry-level telescopes start at a few hundred dollars, the idea of getting anything decent for pocket change sounds like a pipe dream. Yet the secondhand market often hides real bargains for those willing to hunt them down. Deals like this appear because people buy on impulse, then quickly lose interest for various reasons.
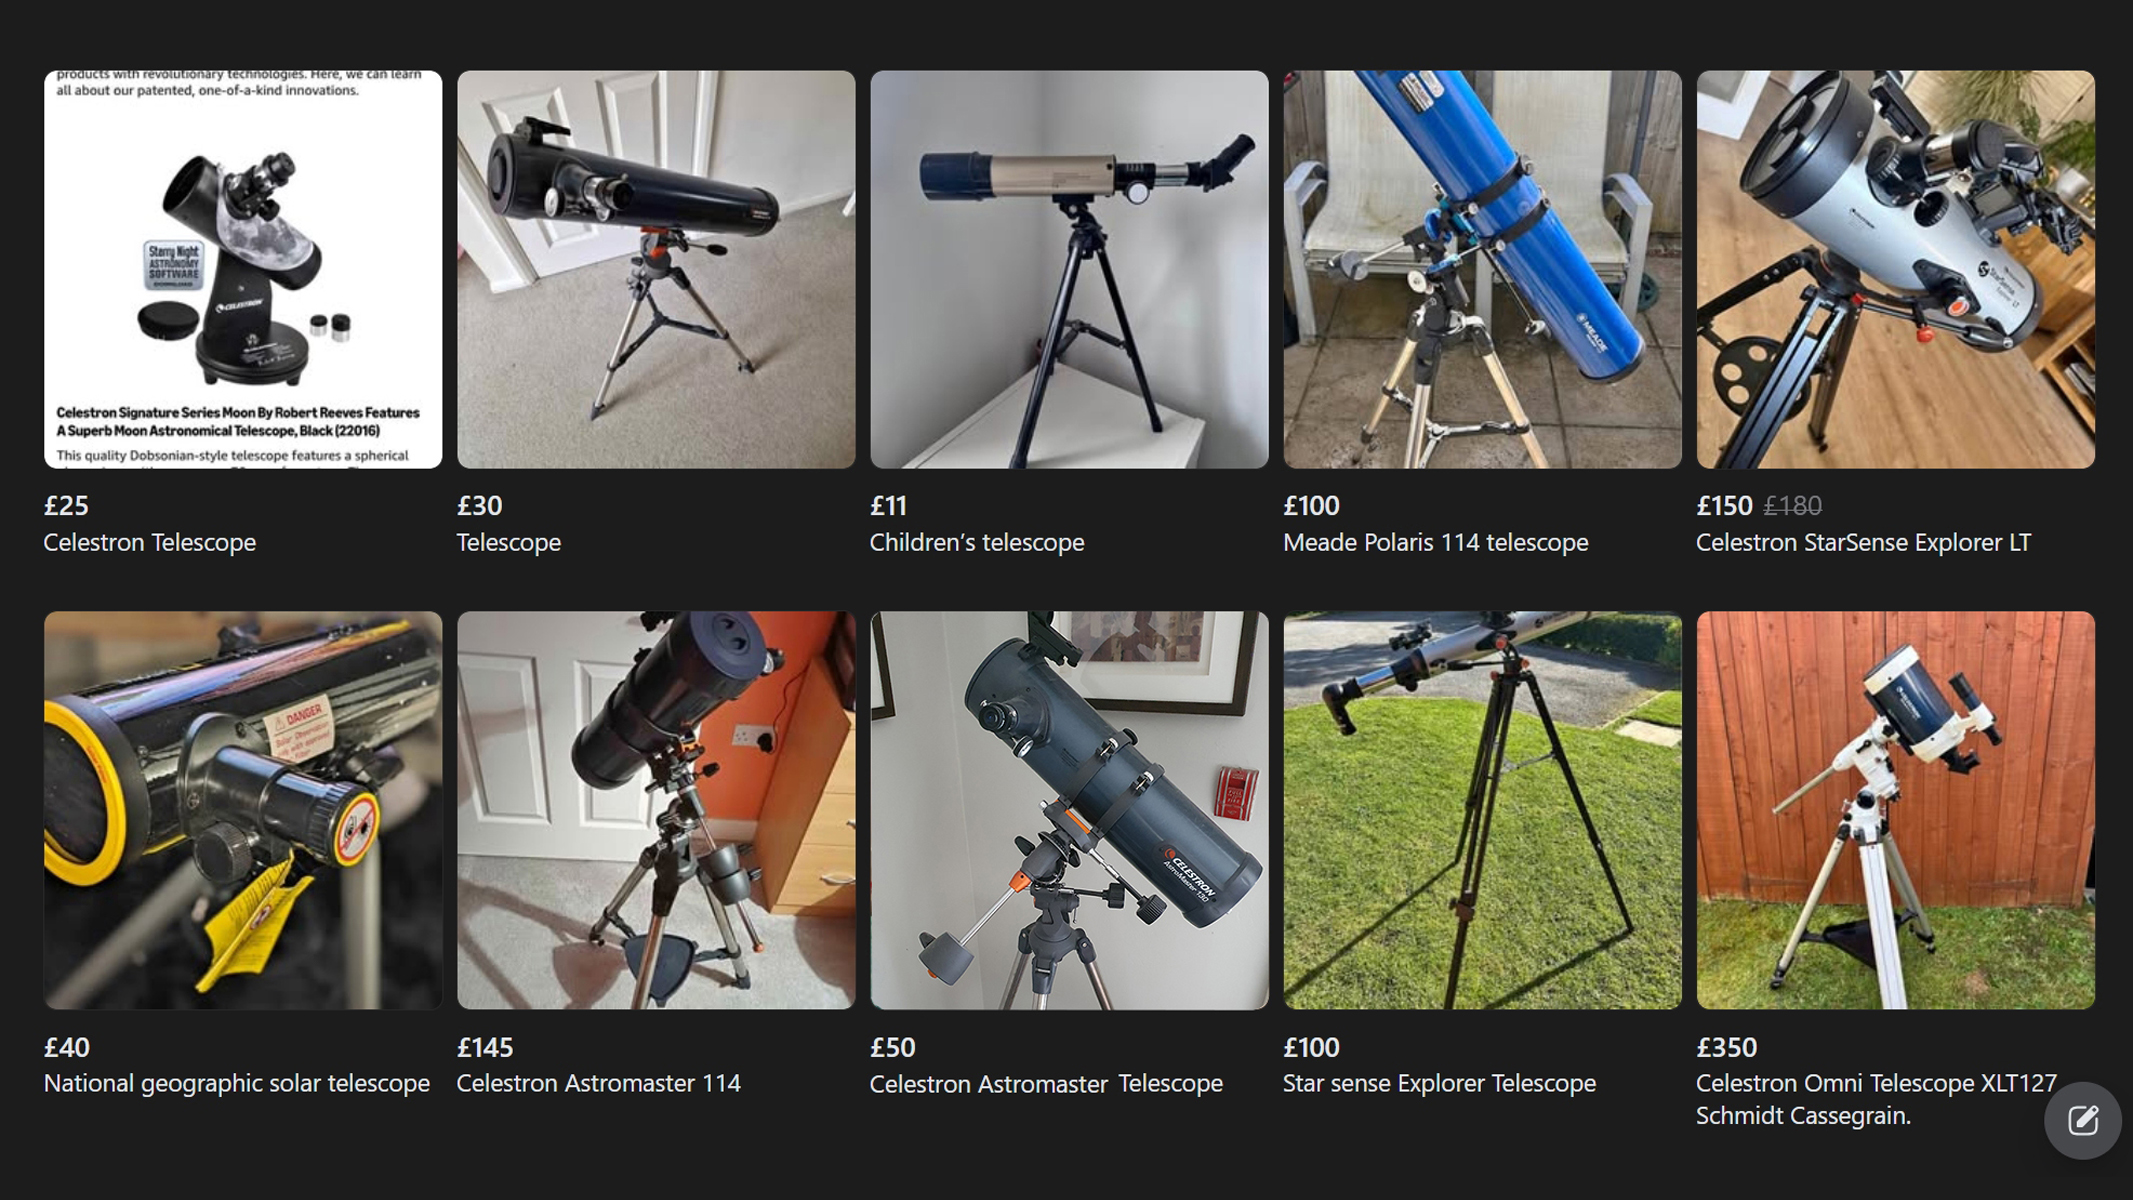
Facebook Marketplace seemed like the best bet for such a deal, so I opted to keep an eye on the site for potential local bargains on the best telescopes I could find.
Finding quality gear on a shoestring budget

Amateur astronomy has a reputation for expensive equipment, but the used market flips that script somewhat. New telescopes in the $50 range are usually tiny 50- to 70-millimeter refractors that struggle with faint objects. I wanted more light-gathering power so I focused on searching for larger-aperture Newtonians.
The Celestron AstroMaster 130mm offered a decent 130 millimeters of aperture — more than double many cheap department store refractors. That extra size collects far more light, sharpens detail (especially on planets) and gives brighter views of fainter deep sky objects.
After about a week of scrolling on Marketplace I spotted a Celestron AstroMaster 130mm Newtonian reflector listed for just $50 by a local seller about 15 miles away. The photos showed it was in good condition complete with box and all parts. The seller said it had seen little use.
Hopeful, I drove across town to inspect the scope. Everything was present with no missing parts, and the optics were clean with no scratches. That was enough for me, and off I went with my bargain basement telescope!
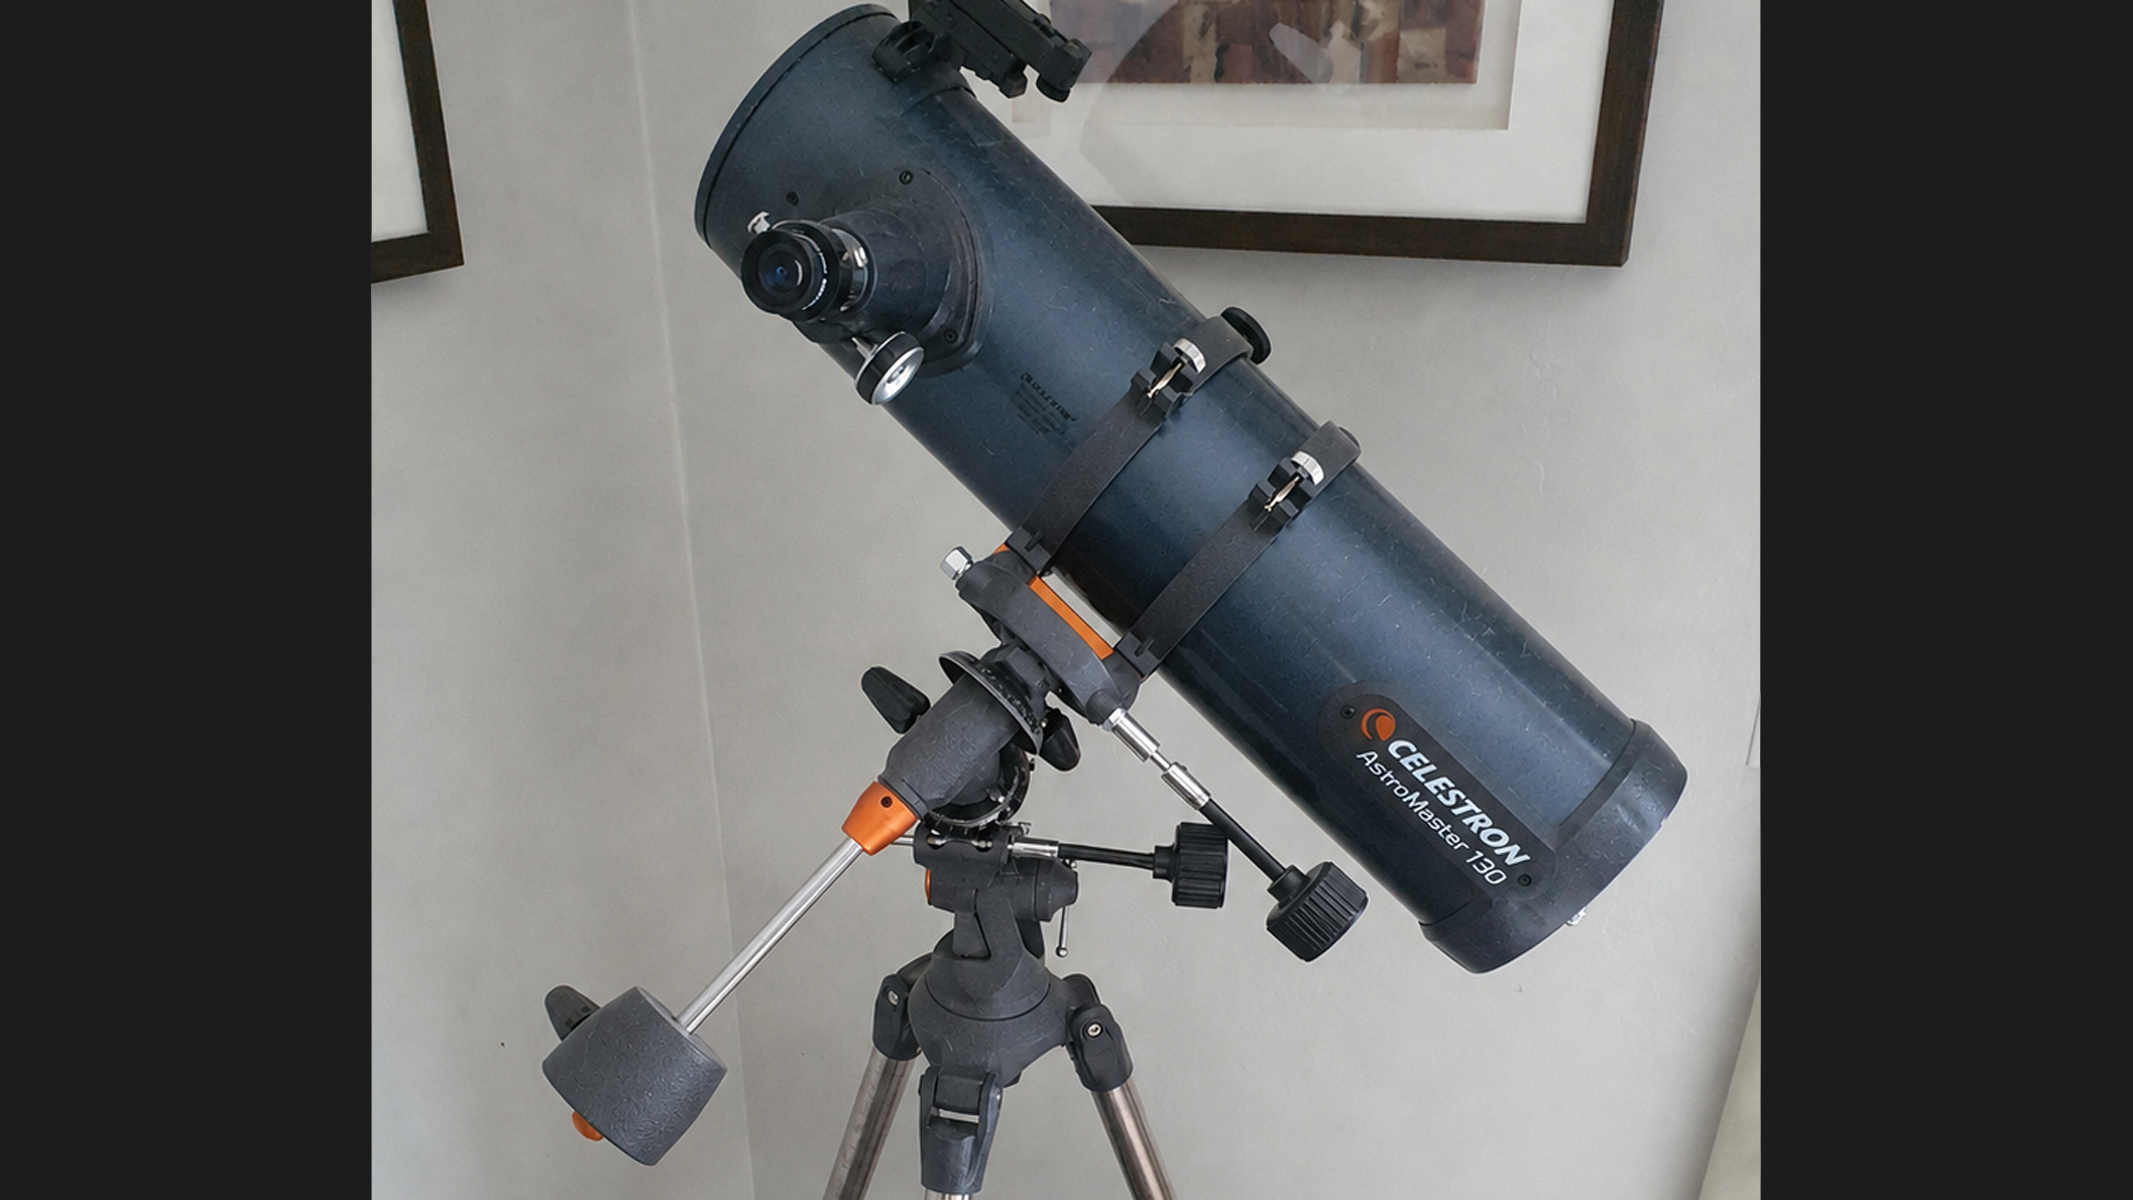
Over the next few days I collimated, aligned and tested the scope on solar system targets and bright deep-sky objects. The results pleasantly surprised me. My $50 telescope delivered crisp planetary views and revealed many deep sky objects. It was not perfect but it proved that, with the right find and a bit of know-how, a tight budget need not limit the fun. Here is a breakdown of my experience.
Accessories that made the deal even better
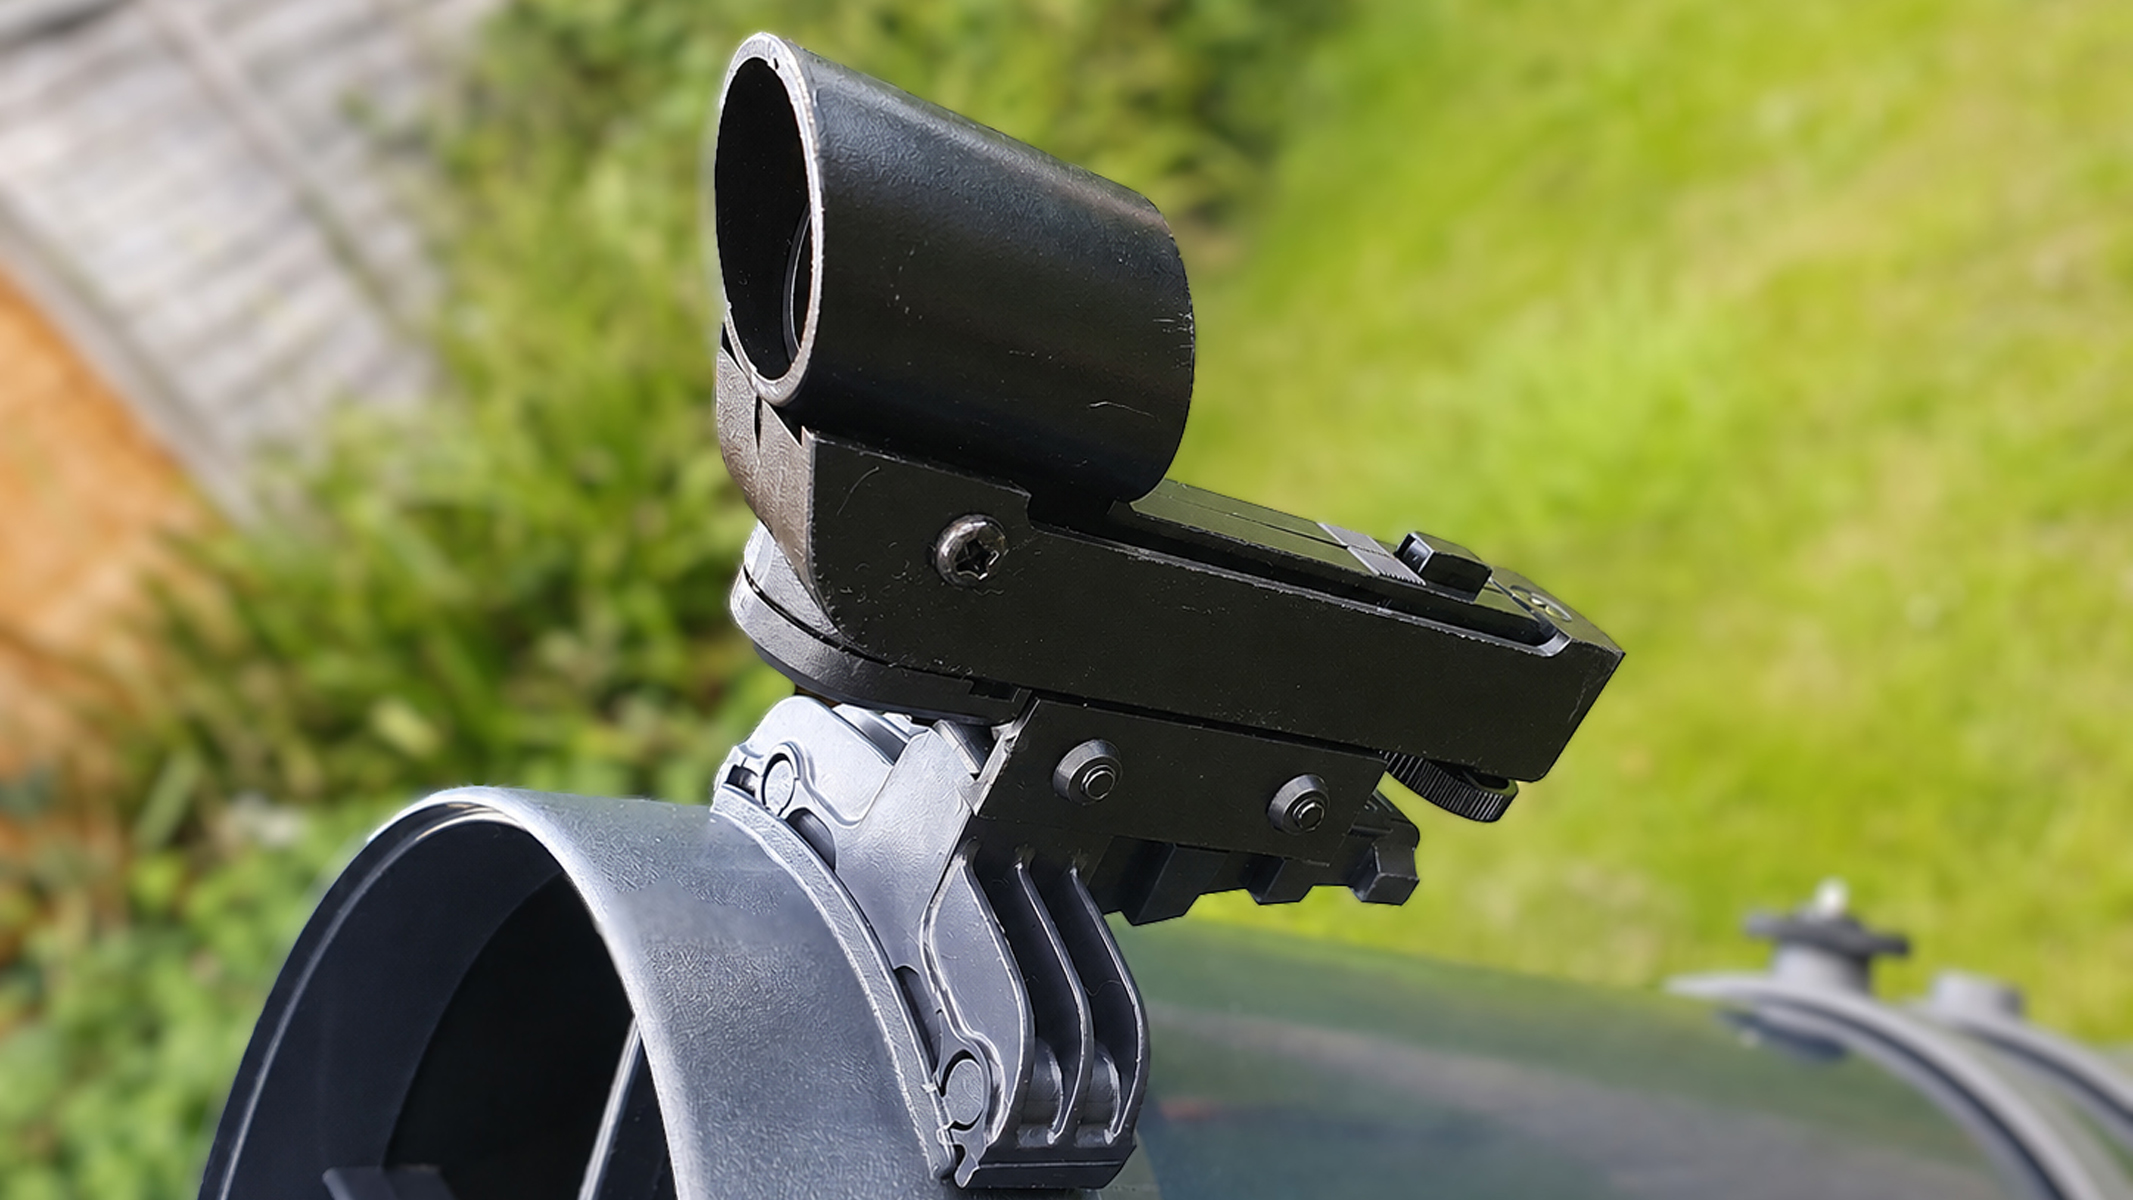
The telescope came with everything needed to start observing that same night. Two Plössl eyepieces provided different magnifications, and there was also a red-dot finderscope and a manual equatorial mount with slow-motion cables.
For beginners, the red-dot finder is a lifesaver. It projects a red bull’s-eye on the sky so you simply center your target and look through the main eyepiece. The equatorial mount tilts to match Earth’s axis, allowing smooth tracking by turning two cables instead of pushing the tube constantly. The lack of motors meant I had to adjust manually, but the slow-motion controls made fine pointing easy even at higher power.
Those two eyepieces gave me roughly 33x and 65x magnification — enough for wide lunar views and tighter planetary shots. Nothing fancy but perfectly usable. One useful item not included was a Barlow lens to increase magnification on the planets, but I decided to use a 2x Barlow I already had. Just as a side note, Barlow lenses are widely available at very modest prices — especially secondhand.
Collimation: A simple step for sharp images
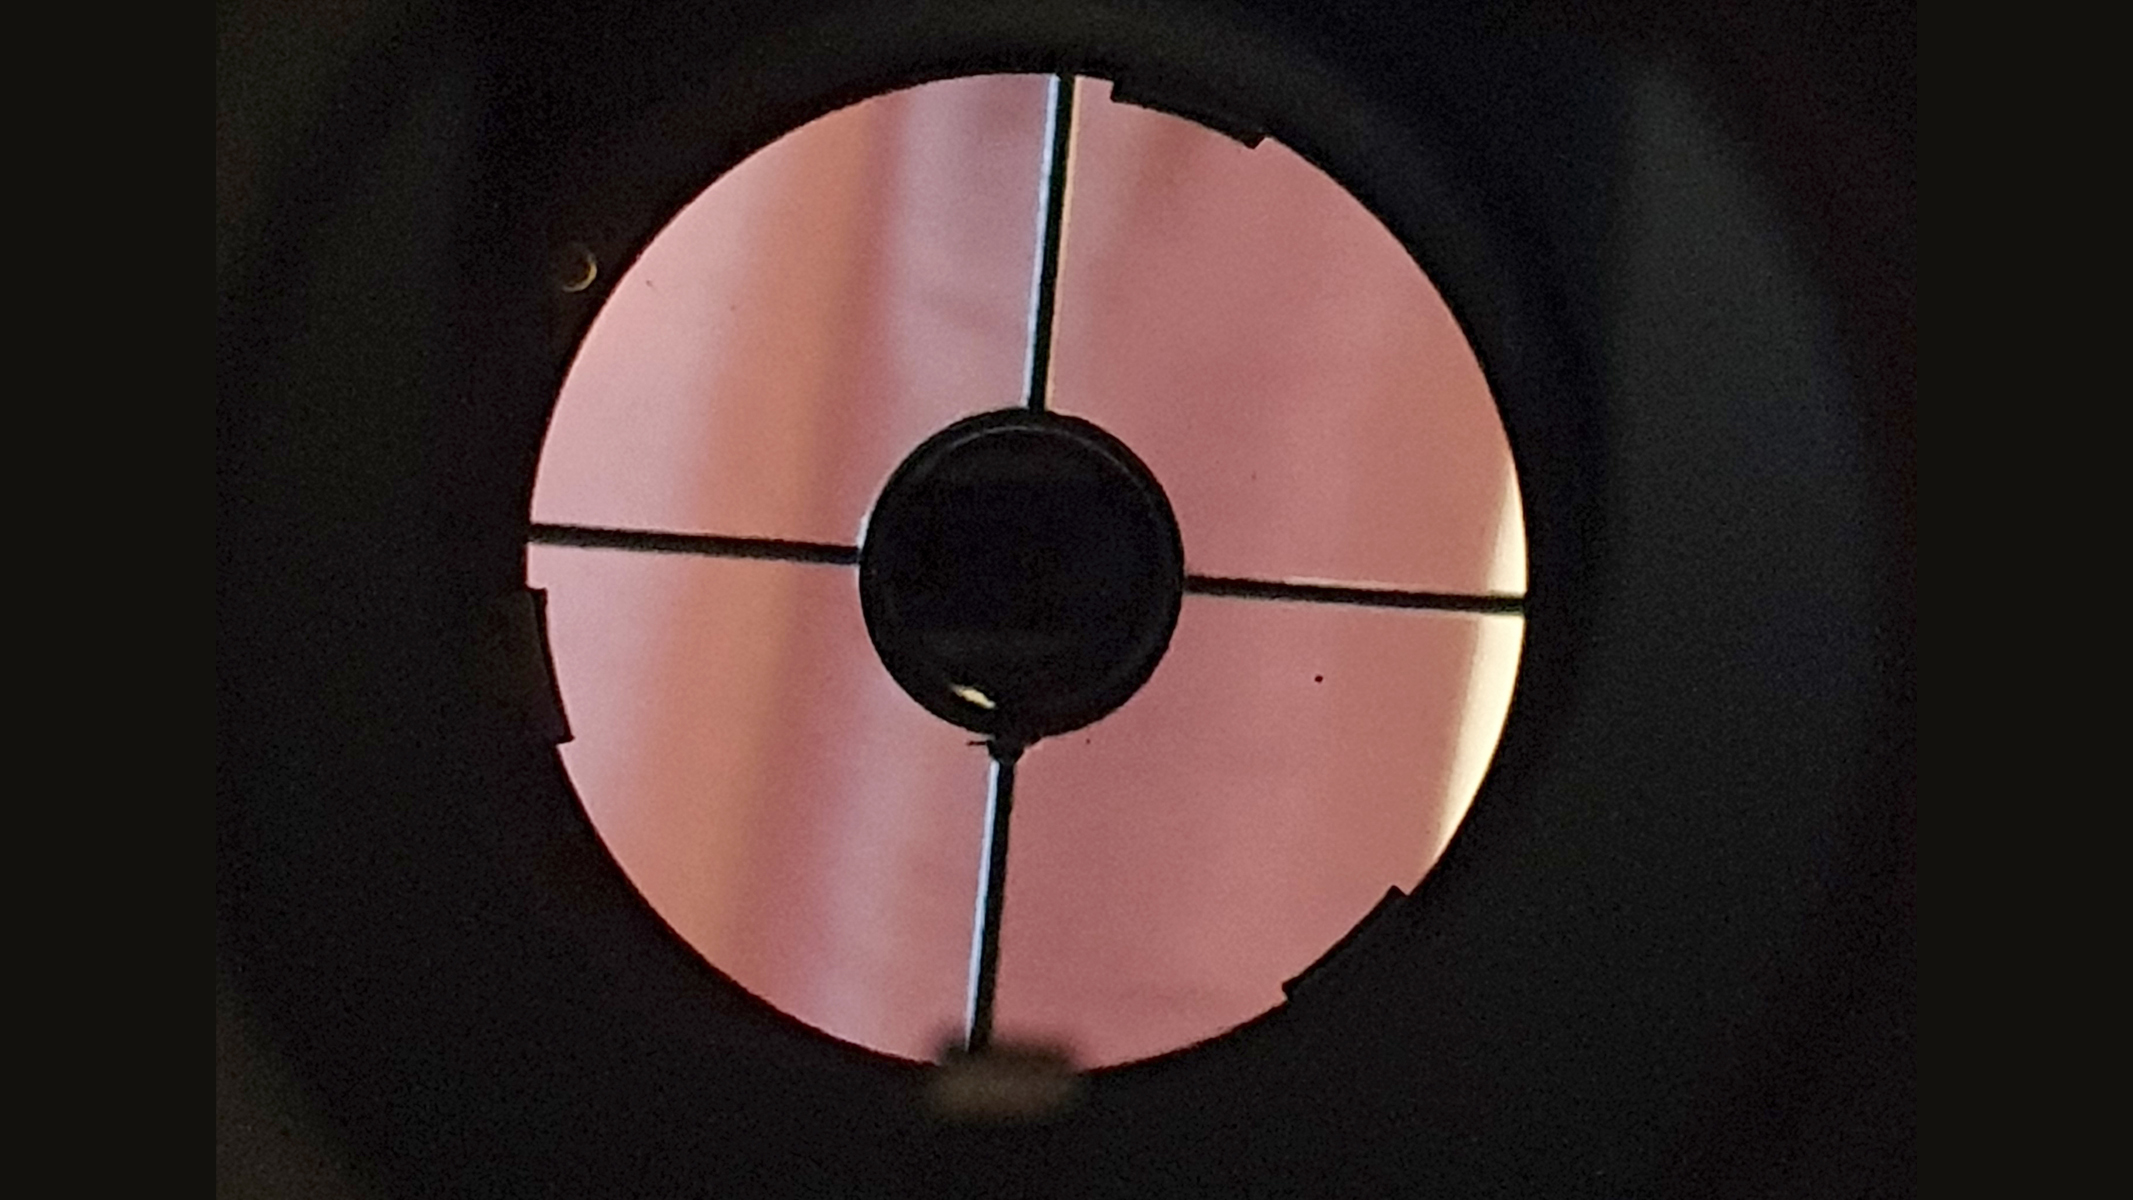
Newtonian reflectors require occasional collimation. This involves aligning the primary and secondary mirrors so light reflects properly to the eyepiece. Out of the box, my scope was slightly off, probably from travel or shipping. Luckily, the fix took less than 10 minutes.
I used a simple collimation tool with a tiny hole that fits in the focuser, but this isn’t essential — it can be done simply by eye sighting through the focuser. Looking through it, I adjusted the three screws on the primary mirror until the reflection of the primary mirror looked centered and symmetrical. The secondary mirror needed no adjustment.
A quick star test that evening confirmed pinpoint star images with no flares. Beginners often fear collimation but it is straightforward and essential. Skip it, and views will be blurry no matter how good the optics.
First light: Crisp views of Venus and Jupiter
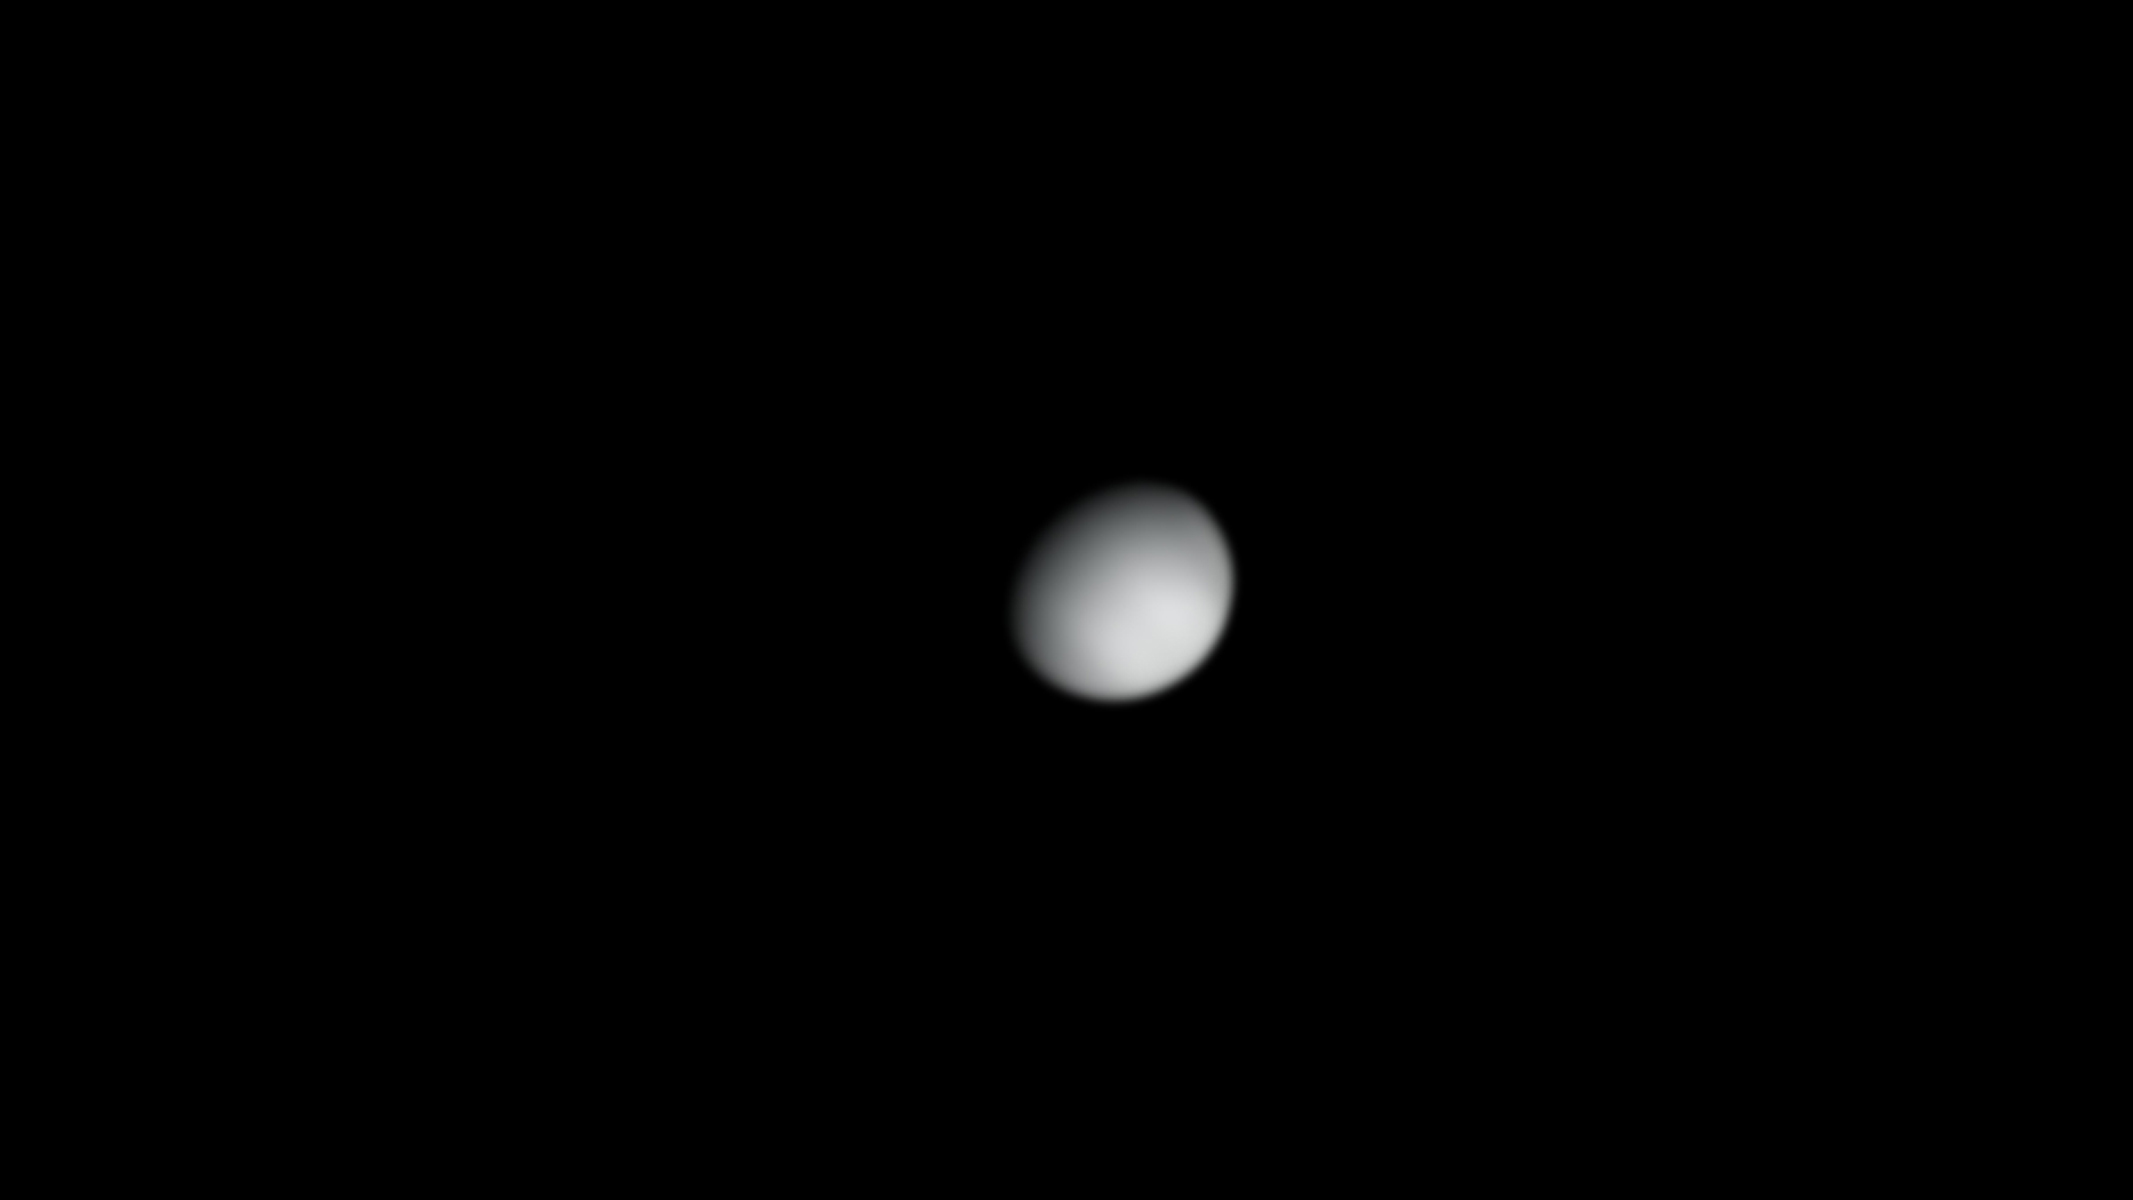
With the scope collimated, I pointed it at Venus on the first clear evening. The planet showed a sharp gibbous disk phase, clearly visible even at moderate power. Edges stayed crisp with no false color, which is a common issue in cheaper refractors. Venus appeared almost three-dimensional against the twilight sky. The 130mm aperture gathered enough light to show subtle shading I had not expected at this price.
Jupiter, which was much higher in the evening sky, showed some detail on its disk. The Great Red Spot was visible, with its reddish colour quite obvious. All four moons were on view alongside the planet and looked sharp and point-like.
I then moved to a nearby bright star to test the optical quality. Racking the star inside and outside of focus at moderate power revealed well-corrected optics free of any major optical problems. I was most impressed overall — this felt like an amazing win for a $50 outlay!
Astrophotography on a budget: Sun, moon and planets
Without a motorized drive, long-exposure deep-sky photography was off the table but the sun, the moon and the brighter planets remained fair game. I crafted a simple solar filter from some Baader safety film I had stretched over a cardboard cell that fit snugly over the front of the tube. Safety first: NEVER point any telescope at the sun without proper filtration! Use the best solar viewing kit!
The filter revealed several nice sunspot groups, with umbra and penumbra detail visible as I tracked manually as best I could. This kind of telescope is ideal for solar work, being a good size aperture to reveal fine detail, but not so large as to be severely affected by daytime atmospheric turbulence.
Later that day, as the sun was nearing the horizon, I prepared to try and capture some images of Venus and Jupiter. I attached my Player One Uranus-C USB camera to the focuser and recorded short video clips of Venus and Jupiter over about an hour. Manual tracking was tricky, but I nudged the Right Ascension slow-motion cable every few seconds to keep the planet centered. Still, the results were surprisingly reasonable, and they are presented here.
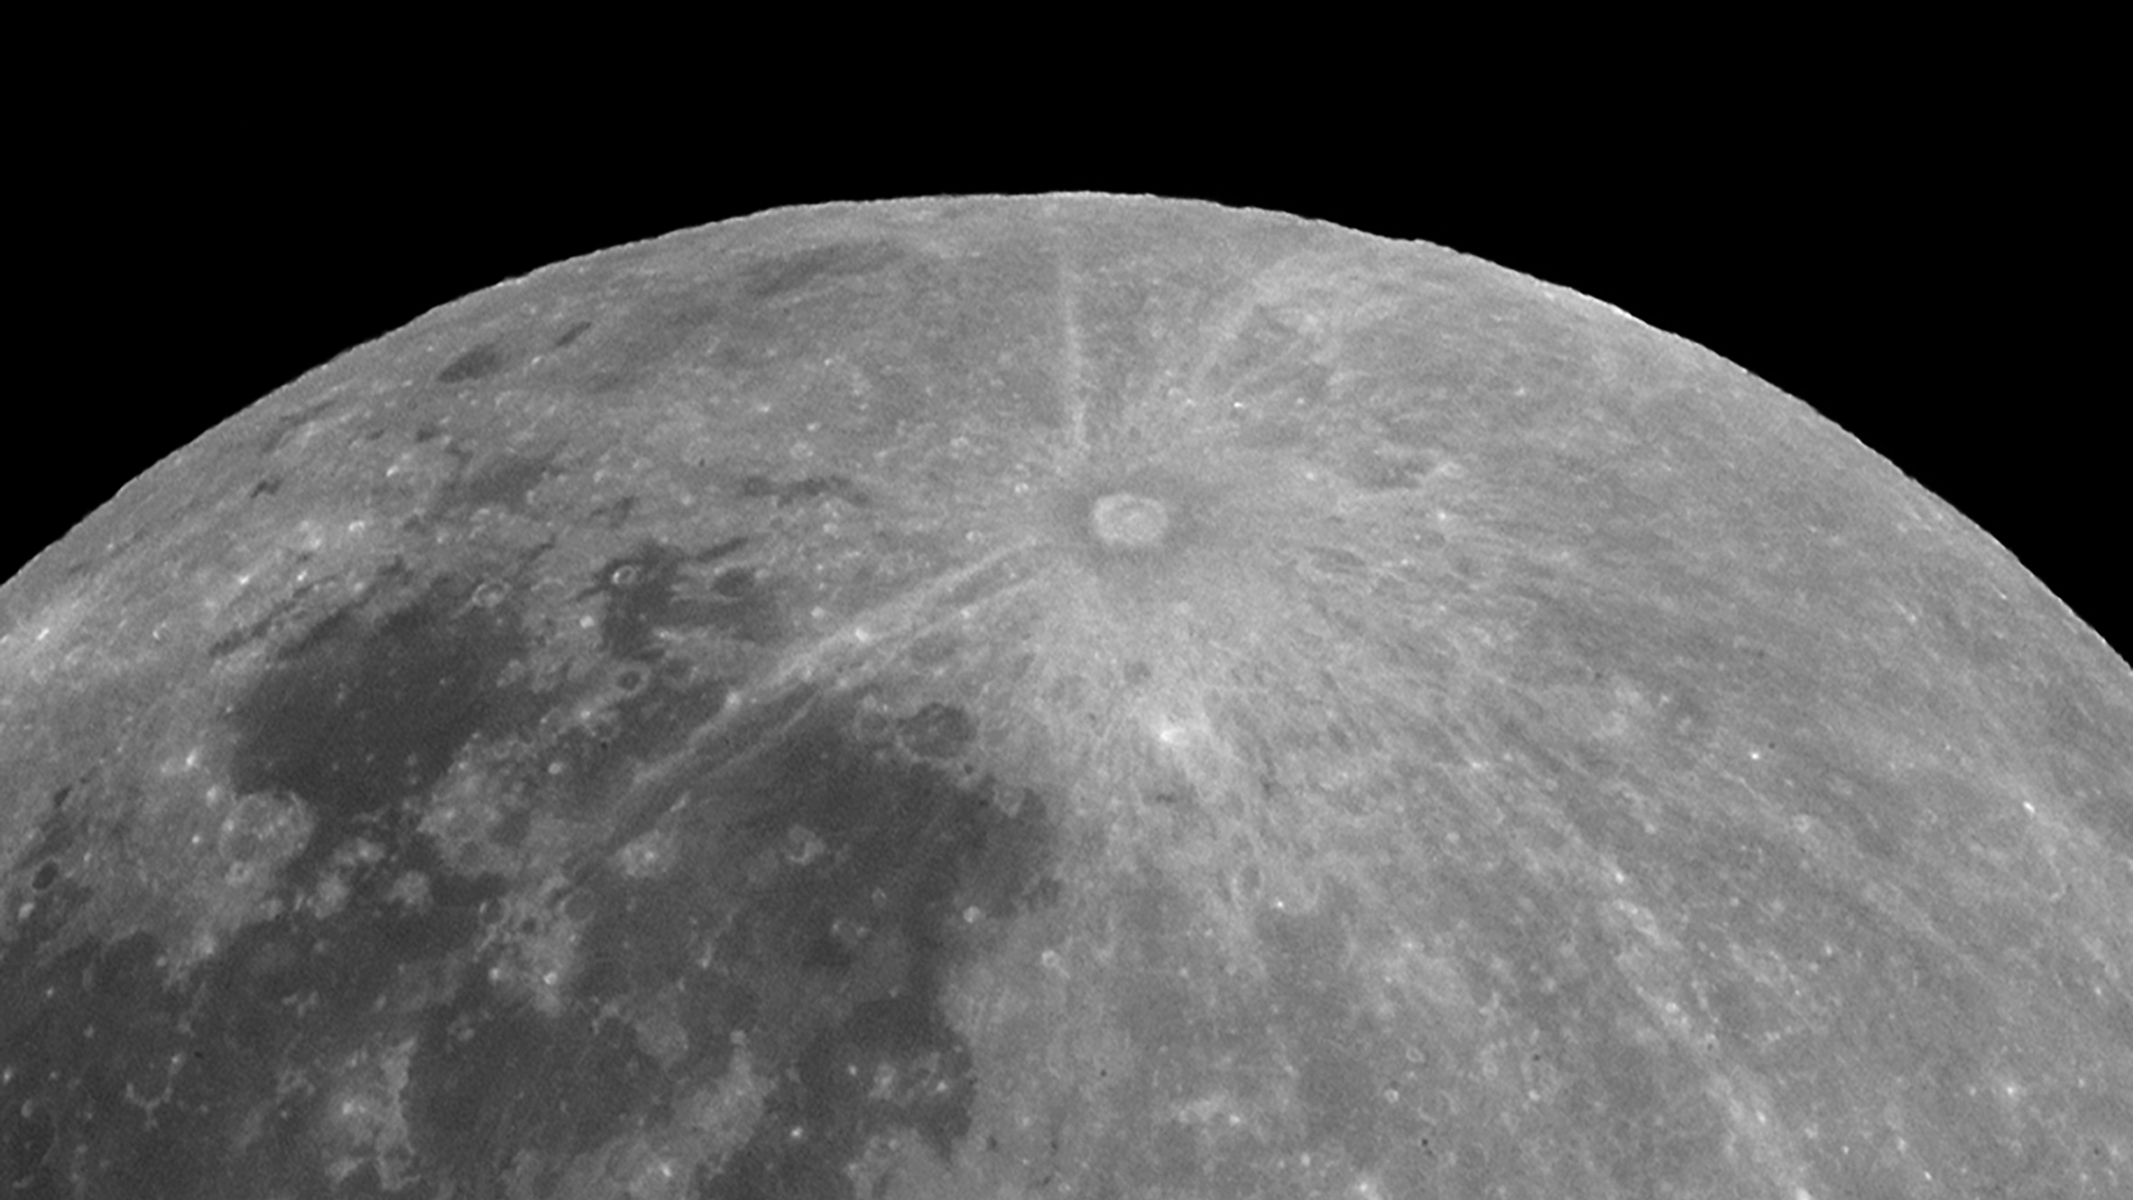
The moon was available and I shot a handful of views. Through the scope it looked great, with sharp views across the lunar landscape with many fine details visible. I shot a few videos, but the one of the bright Tycho crater came out best. This is a great entry-level telescope to photograph the moon with, as it offers notably better resolving power than small refractors, as was obvious on some of the smaller lunar features I examined.
I was running my usual imaging setup at the same time, so managing both systems added an extra challenge. However, once the main rig was up and running, it largely looked after itself, giving me time to image with the smaller scope.
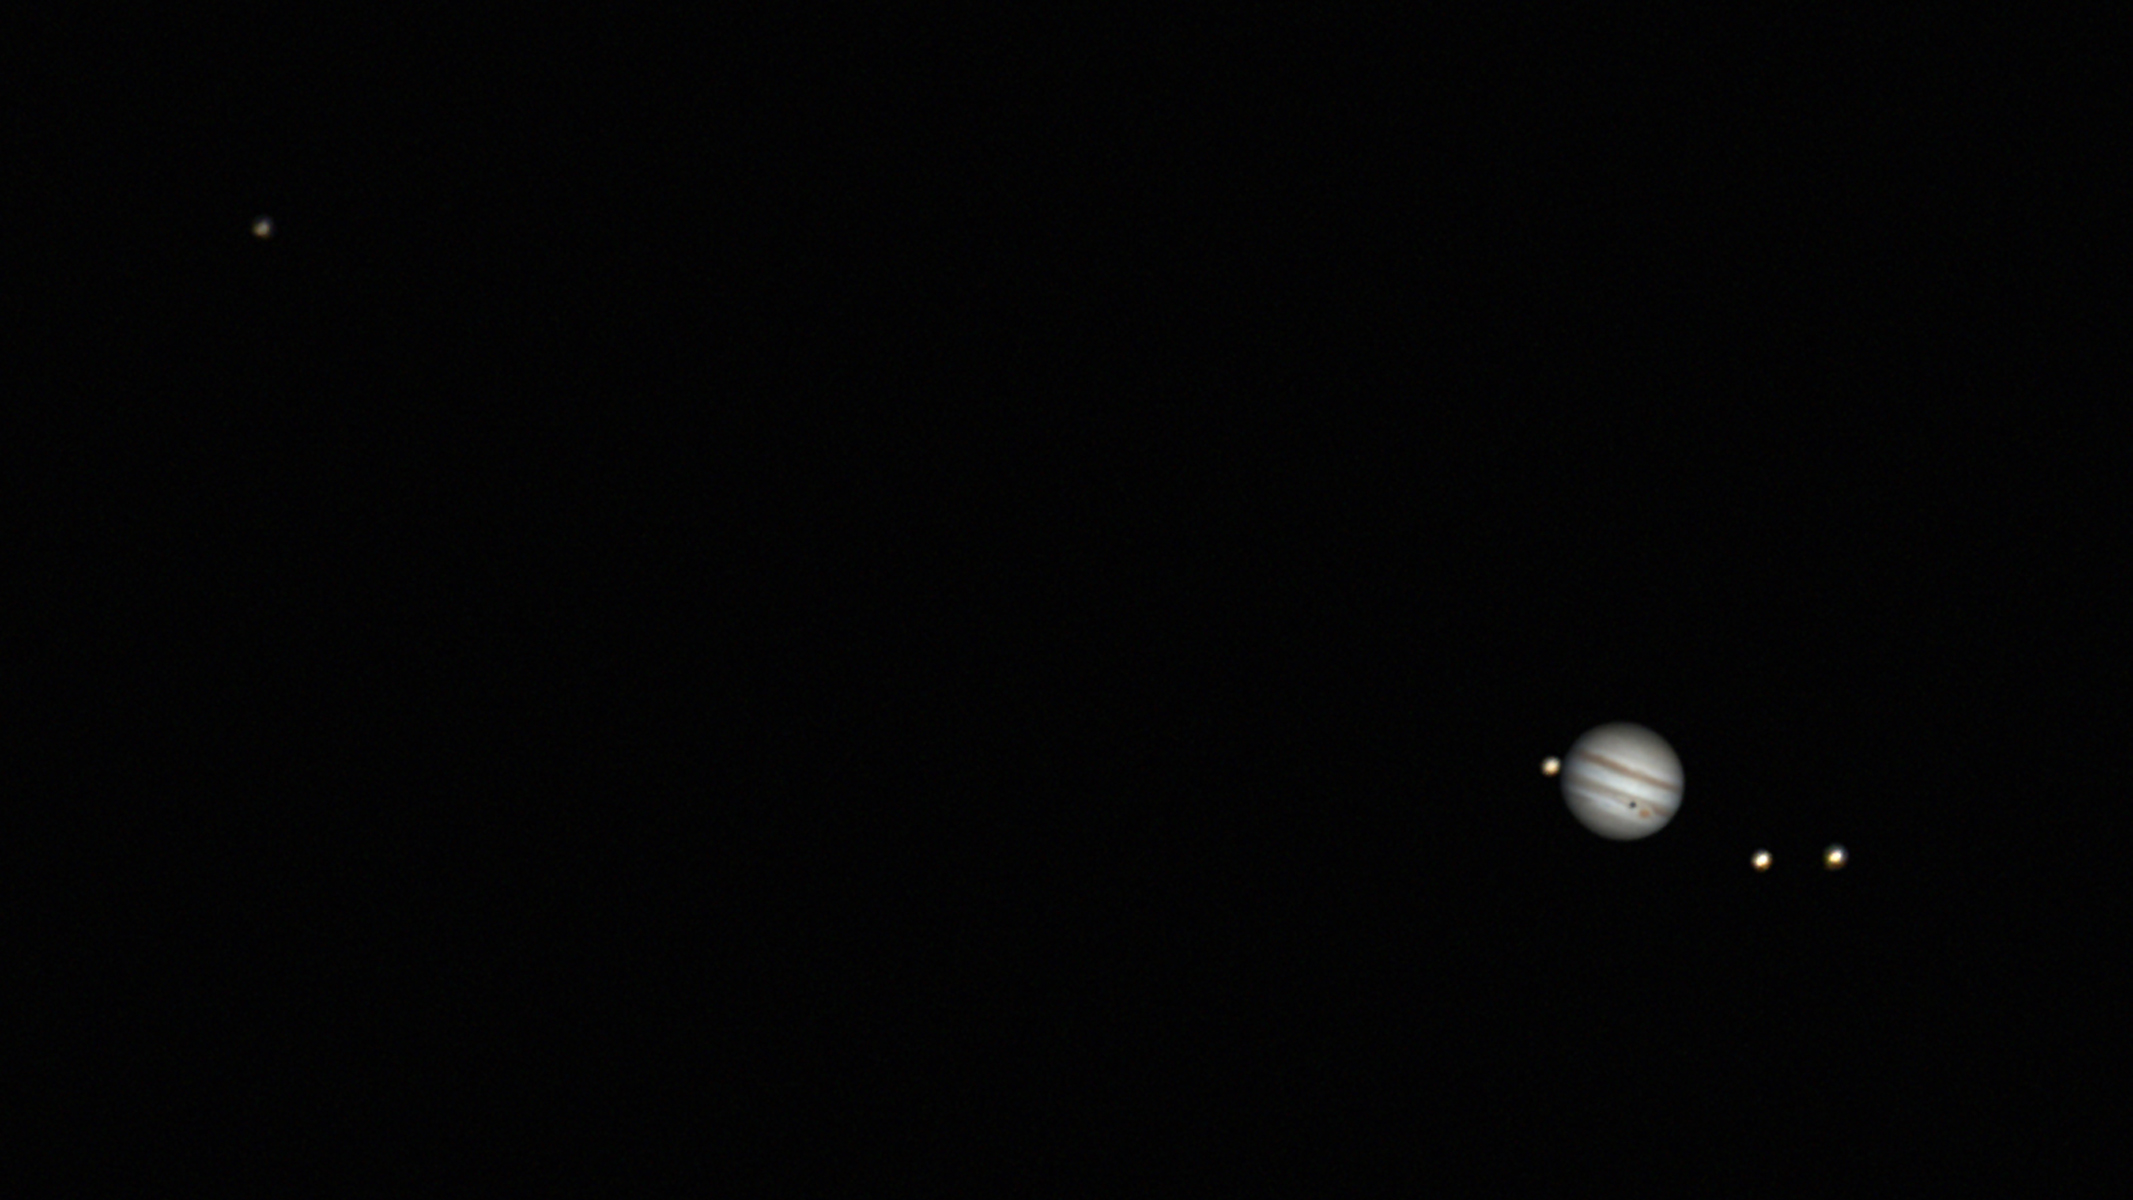
Jupiter showed cloud bands and its Great Red Spot could be seen just slipping off the edge, with three of its moons also in the field. The shadow of Ganymede could be seen on the planet which was impressive. Lunar images came out even better: crater rims and mountain shadows popped in high contrast, with the crater Tycho being my target of choice to capture – its brilliant ray system a striking sight.
These were certainly not observatory-grade results but they proved even a super-cheap $50 scope plus a decent camera can still capture good detail, as long as you have patience and a steady hand.
Deep-sky observing under darker skies
City light pollution hides fainter objects, so I drove 45 minutes to a darker site to do some visual observing. The manual mount and red-dot finder let me star-hop efficiently. Some degree of night sky knowledge is essential here: either that, a decent star atlas or a laptop with planetarium software.
Messier 13, the Hercules globular cluster, looked impressive. Its core was partly resolved into a sparkling ball of stars with faint outliers visible even in the 130mm aperture. Messier 5 appeared similar. The bright galaxy pair Messier 81 and 82 showed distinct shapes side by side. I also had a good look at the Double Cluster in Perseus, which was a stunning sight, revealing a field of pin-point stars, far too many to count!
I also had a quick look at the Virgo cluster — the largest nearby galaxy cluster to the Milky Way— and several of the bright galaxies were easily observed. I also tracked down NGC 4565 —the Spindle Galaxy in Coma Berenices — and its long, elongated shape was obvious, appearing like a long ghostly sliver of light.
Overall, the experience was most enjoyable, and the views surprisingly good. One slight frustration was the lack of tracking, which means you frequently have to counter the drift through the eyepiece by turning the slow motion controls. I have become too spoiled over the years by tracking mounts!
Lessons learned: Pros, cons and beginner advice
A $50 telescope obviously has limits. Having no motor drive meant constant manual tracking, which rules out long-exposure astrophotography of nebulae or galaxies. And packing no GoTo computer requires at least a rudimentary knowledge of the night sky and a star atlas or planetarium software.
Still, the scope outperformed anything new you could buy at this price. The larger aperture delivered light and detail that would be impossible in tiny department-store refractors.
Select carefully when buying used equipment. Inspect mirrors or lenses for damage, test the mount for smooth motion and ask about usage history. Also make sure all parts are present, and ask to see the telescope set-up if possible.
With patience and selectivity, a tight budget can still open up the universe. This somewhat surprised me given the general expense of things these days. I was also surprised how many used telescopes are available on public social media marketplaces like this. There were many telescopes available in the $50-200 range, with even better options available toward the upper end of this budget.
If you are looking to buy a first telescope, or perhaps a telescope as a gift, I’d strongly urge looking at the secondhand market. With some searching and patience, and if you follow the key buying points I’ve outlined here, there are some amazing deals just waiting to be found!