
The night sky is not an impenetrable “blanket of stars.” There is depth and detail that can be navigated and known, probed and plundered for rewards — and the best way to do all of that is with a manual telescope. Sure, you can get a motorized computerized “go-to” telescope and even one of the best smart telescopes that self-align and do all the work for you. Arguably, they also take much of the reward and leave you none the wiser. Can users of smart telescopes find Polaris, the North Star? Probably not. Do they know where the fabulous images of nebulae they produce actually come from? It’s doubtful.
Manual telescopes don’t find celestial objects for you — you find them yourself. However, it’s the only way to build sky literacy. Observing manually connects you to a long tradition of stargazers who learned the patterns of the sky by heart.
The learning curve can be steep, even with one of the best beginner telescopes. Knowing where to point a manual telescope is a challenge for beginners. With narrow fields of view, it’s easy to miss even bright targets unless you understand where objects are, how to navigate the sky and how to move your telescope.
All telescopes use lenses and/or mirrors to collect and focus light. There are several types of telescope — the main two being refractors and reflectors — as well as Dobsonians and catadioptrics (Schmidt-Cassegrains and Maksutov-Cassegrains). Let’s assume you already have one of the best telescopes. How does it move? There are two mount types — alt-azimuth and equatorial — each of which moves differently and has its own learning curve.
To lessen any confusion, here’s everything a beginner needs to know about observing the night sky with a manual telescope, and a glossary of telescope terms.
1. Understand the night sky
The night sky is not static. Thinks of it as a celestial sphere surrounding a rotating globe; as Earth rotates, the stars appear to move across the sky — rising in the east and setting in the west, just like the sun — which is why objects drift out of a telescope’s field of view over time.
Since it’s not static, the celestial sphere requires two coordinate systems to help you understand this movement and find objects in the night sky:
Altitude and azimuth: typically shortened to Alt-Az, these describe where something is based on your position, with altitude meaning how far up in the sky an object is, and azimuth, where it is from left to right.
Right ascension and declination: typically shortened to RA/Dec, these are fixed coordinates that rotate with the celestial sphere, similar to longitude and latitude on Earth.
2. Manual telescope mounts and how to use them

A mount allows you to manually move and position a telescope. They come in two primary flavors: alt-azimuth (alt-az) and equatorial (EQ). However, pointing a telescope at the night sky and hoping you hit on something will not work because a telescope’s narrow field of view makes even very bright objects hard to see unless they’re precisely centered. Here’s why both mounts exist and how best to use them.
Alt-Azimuth mounts: Best for beginners and found on almost all low-cost models, these are simple (alt-az) mounts that move a scope up and down and left and right. Intuitive, easy to use and quick to set up, the constant adjustments required to track an object make it less accurate. That said, you could easily use an alt-az mount your entire life and never notice.
Locate a bright object, such as the moon, a planet or a bright star like Rigel, Vega or Arcturus, then use the finder scope or red-dot finder to roughly align the telescope.
Begin with your lowest magnification eyepiece‚ typically 25mm on a beginner’s model, for the widest field of view. Once your target is centered, you can switch to higher magnification, such as 10mm.
Move the telescope ever so slightly every few minutes to keep the object centred. If the object is drifting through the field of view from left to right, place it on the far left to keep it in view for as long as possible.
Equatorial mounts: A step-up choice, EQ mounts follow the sky’s natural motion. With one axis tilted to align with Polaris, the North Star (in the Northern Hemisphere), an EQ mount hence moves in sync with Earth’s rotation. While EQ mounts allow smoother tracking, particularly at high magnification, they are nevertheless complicated (and somewhat intimidating) to set up and typically include a counterweight, making them heavy and more expensive.
Understand that perfect polar alignment is not necessary for visual observing — getting as close as you can is fine.
In the Northern Hemisphere, point the telescope mount roughly north and set the mount’s tilt to match your location’s latitude, using Polaris, the North Star, as a rough guide to true north.
Once aligned, track objects with a single slow-motion control, which keeps them centered for much longer and makes high-magnification viewing much easier.
3. Using a manual telescope for the first time

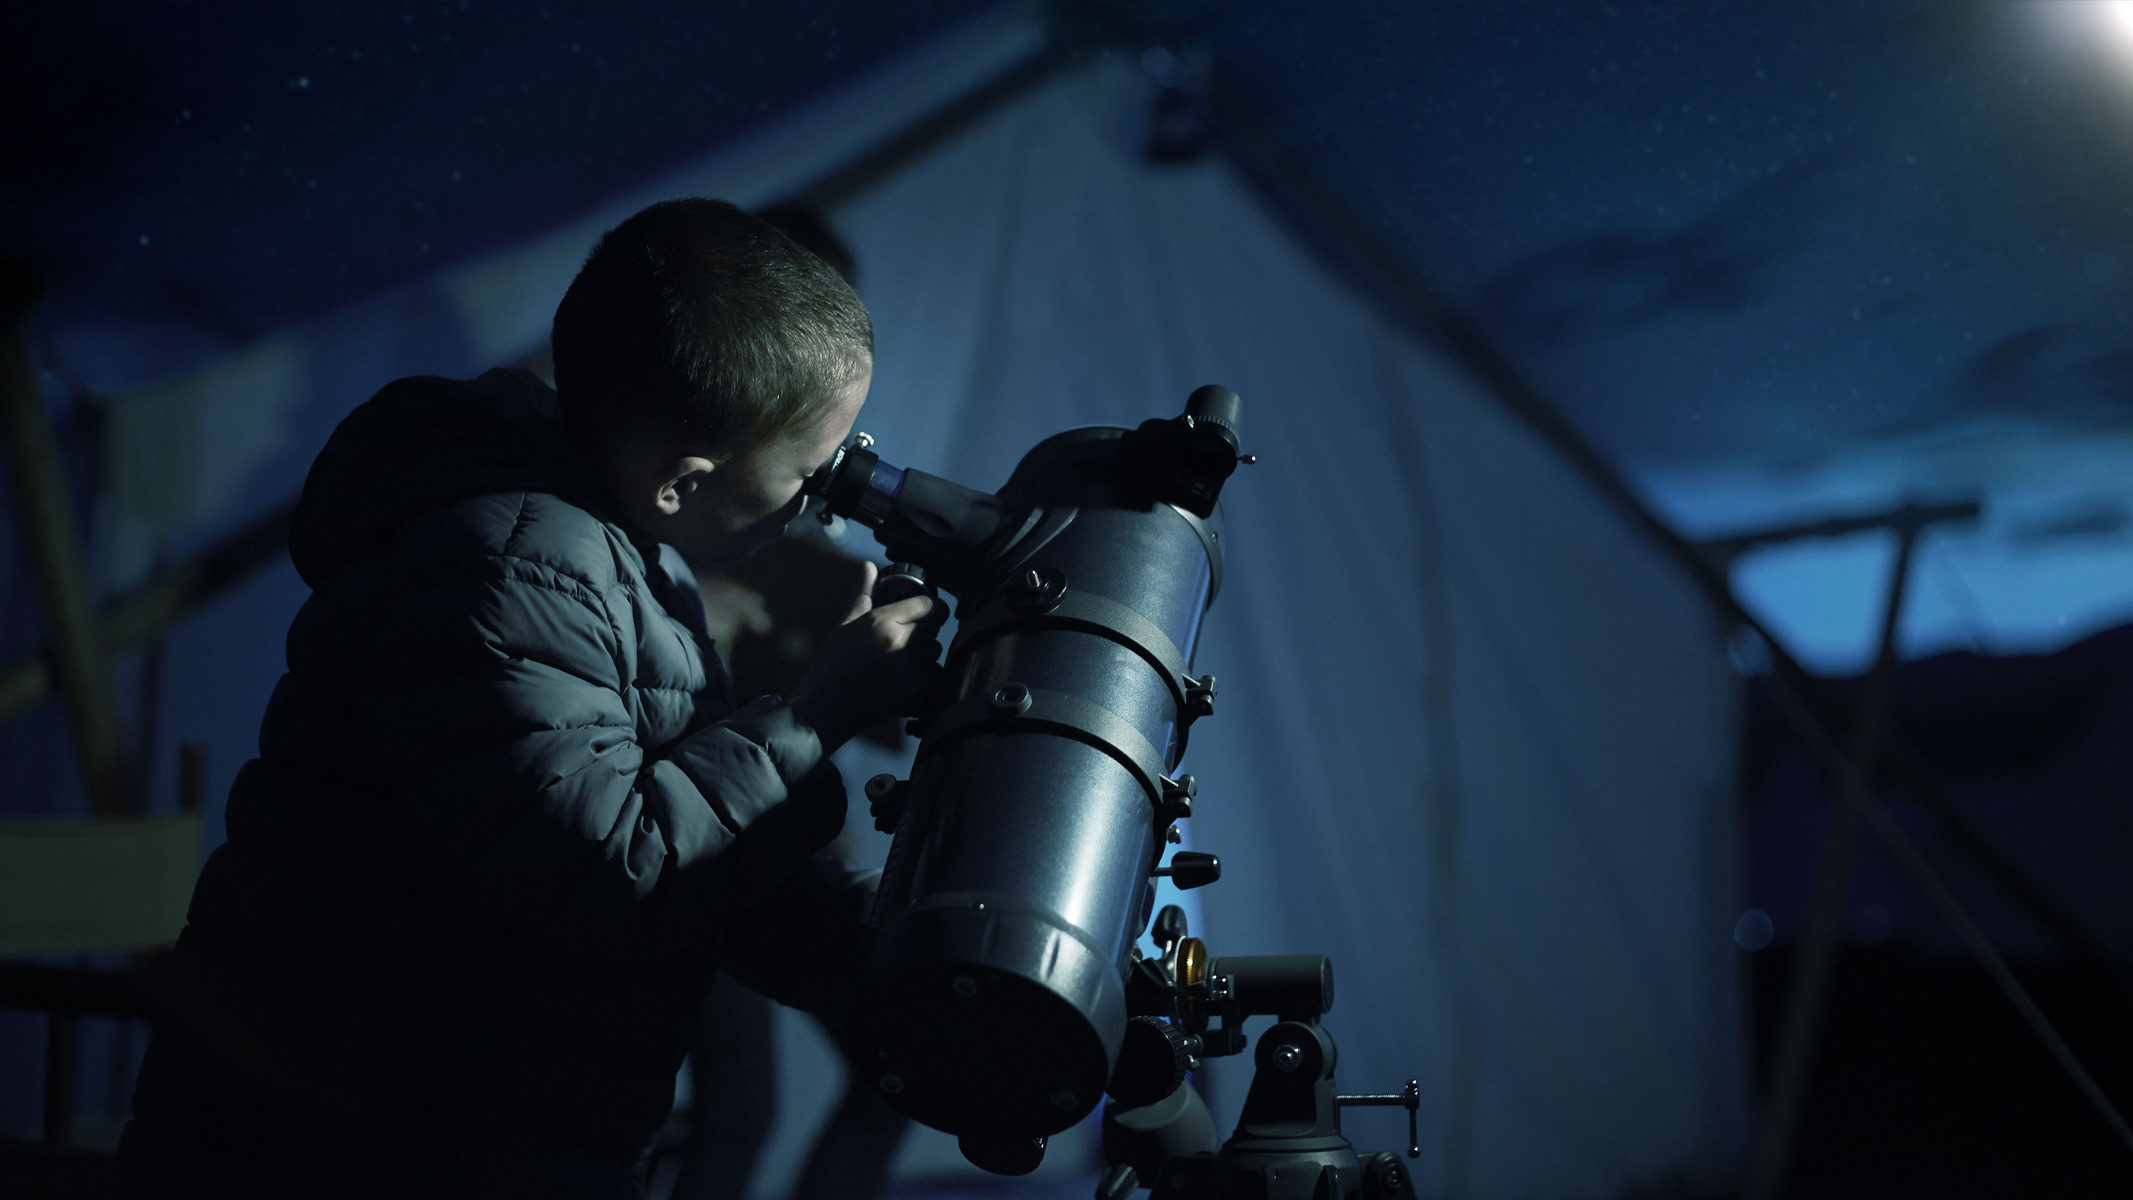
Taking a telescope outside for the first time is as much about learning about the night sky as it is about your telescope. Assemble it indoors in daylight and test your finder scope or red dot finder on a distant object. Once it’s dark, place the lowest-power eyepiece (say, 25 mm) on your telescope, which will give you the widest field of view. Here is what — and what not — to do:
Standing still is how to get cold, so you’ll likely need to dress more warmly than you think.
Let your eyes adjust to the dark (which takes about 20 minutes), then preserve your night vision by using a red flashlight and avoiding smartphone screens (though some stargazing apps have a red light mode).
Be unambitious: Set aside a few hours to learn the absolute basics of using your finderscope, pointing the scope and centering and tracking objects.
Be patient, resisting the temptation to use too much magnification too quickly.
Don’t give up on faint objects, using the averted vision technique (looking to the side of an object) to help your eyes collect more light.
4. How to find objects with a manual telescope
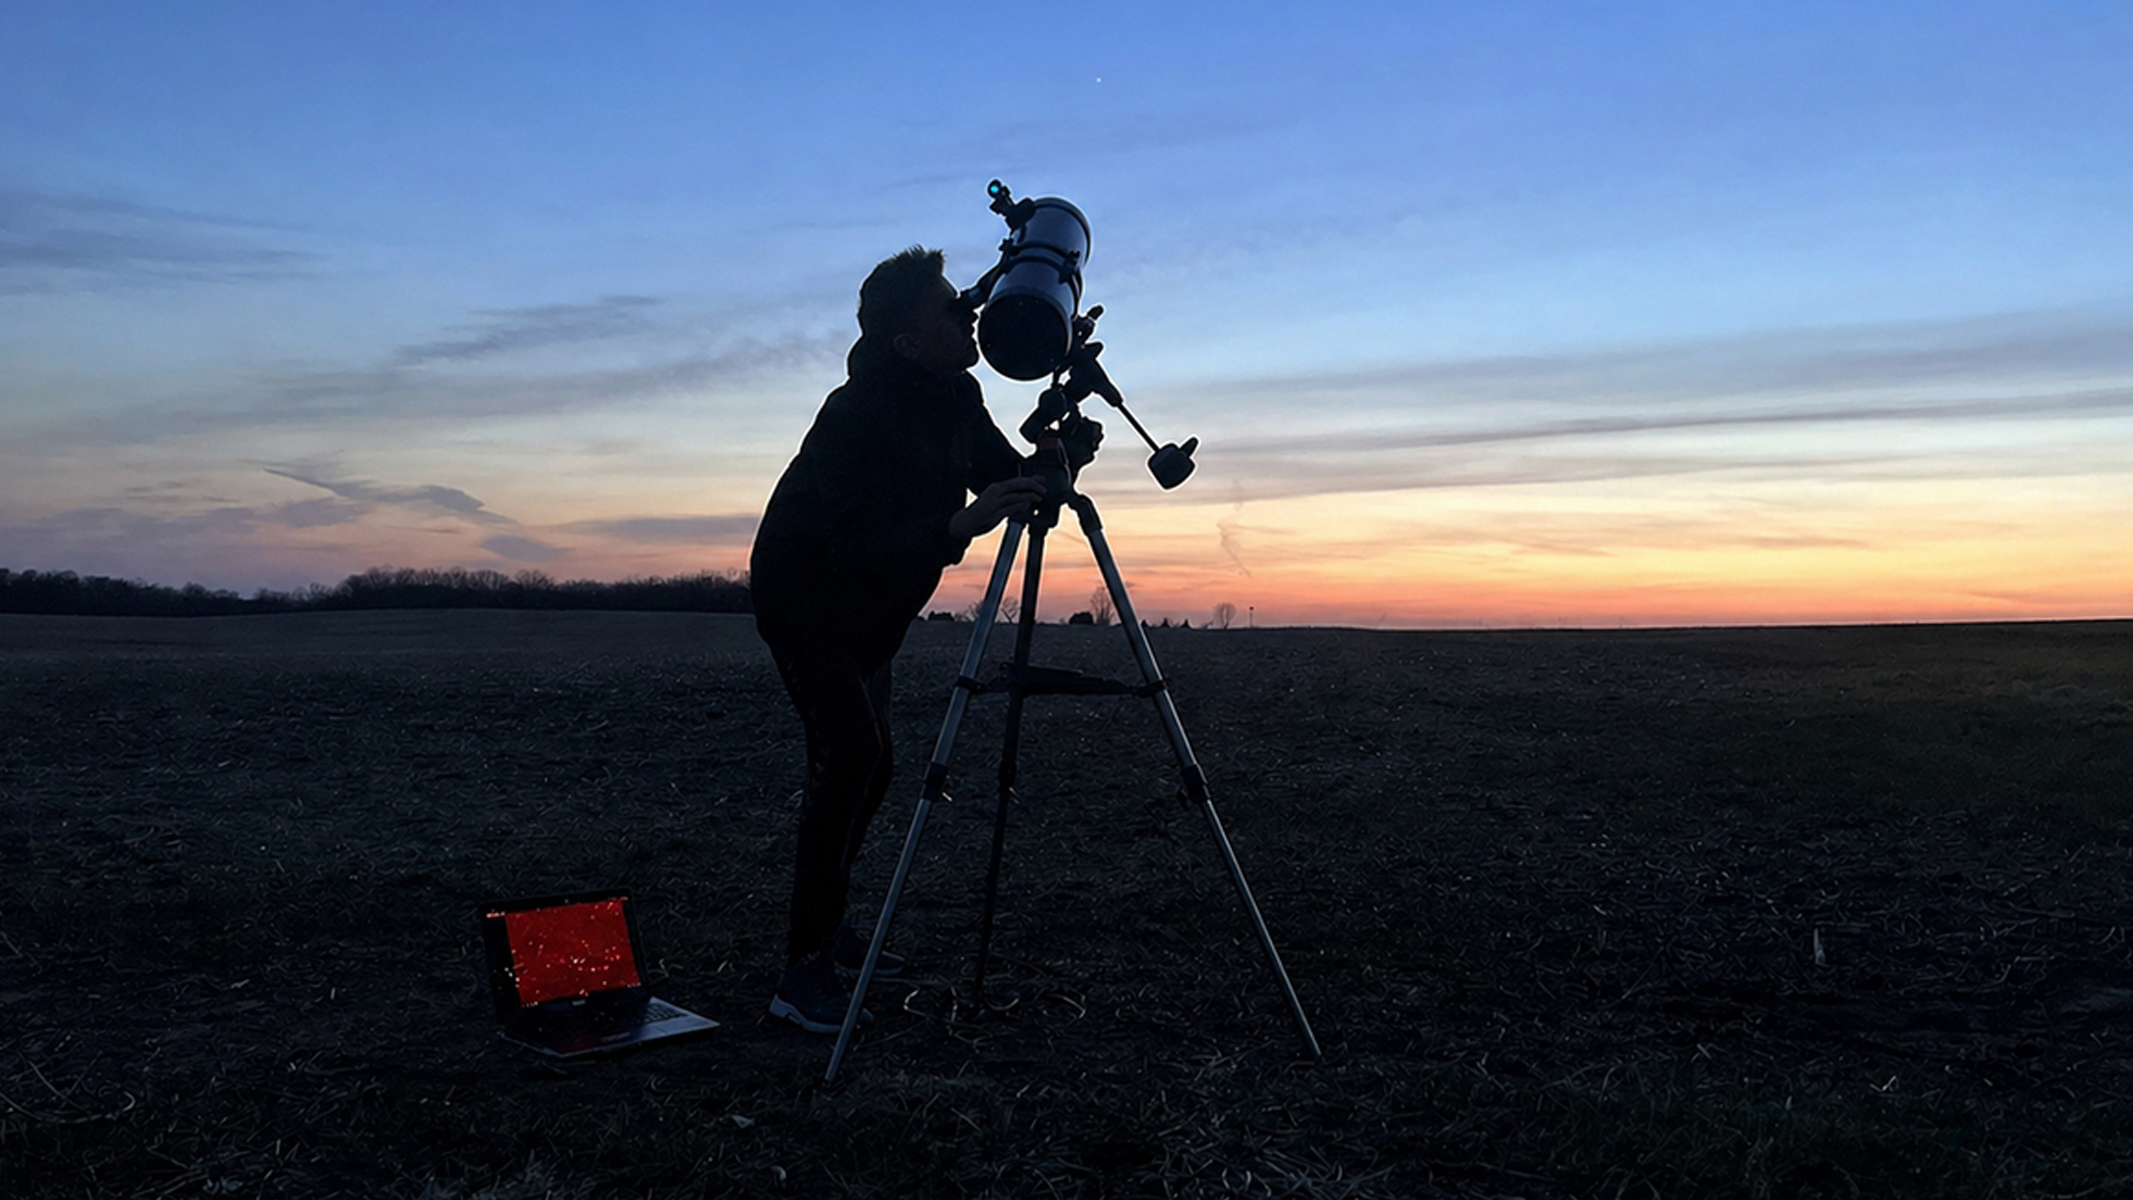
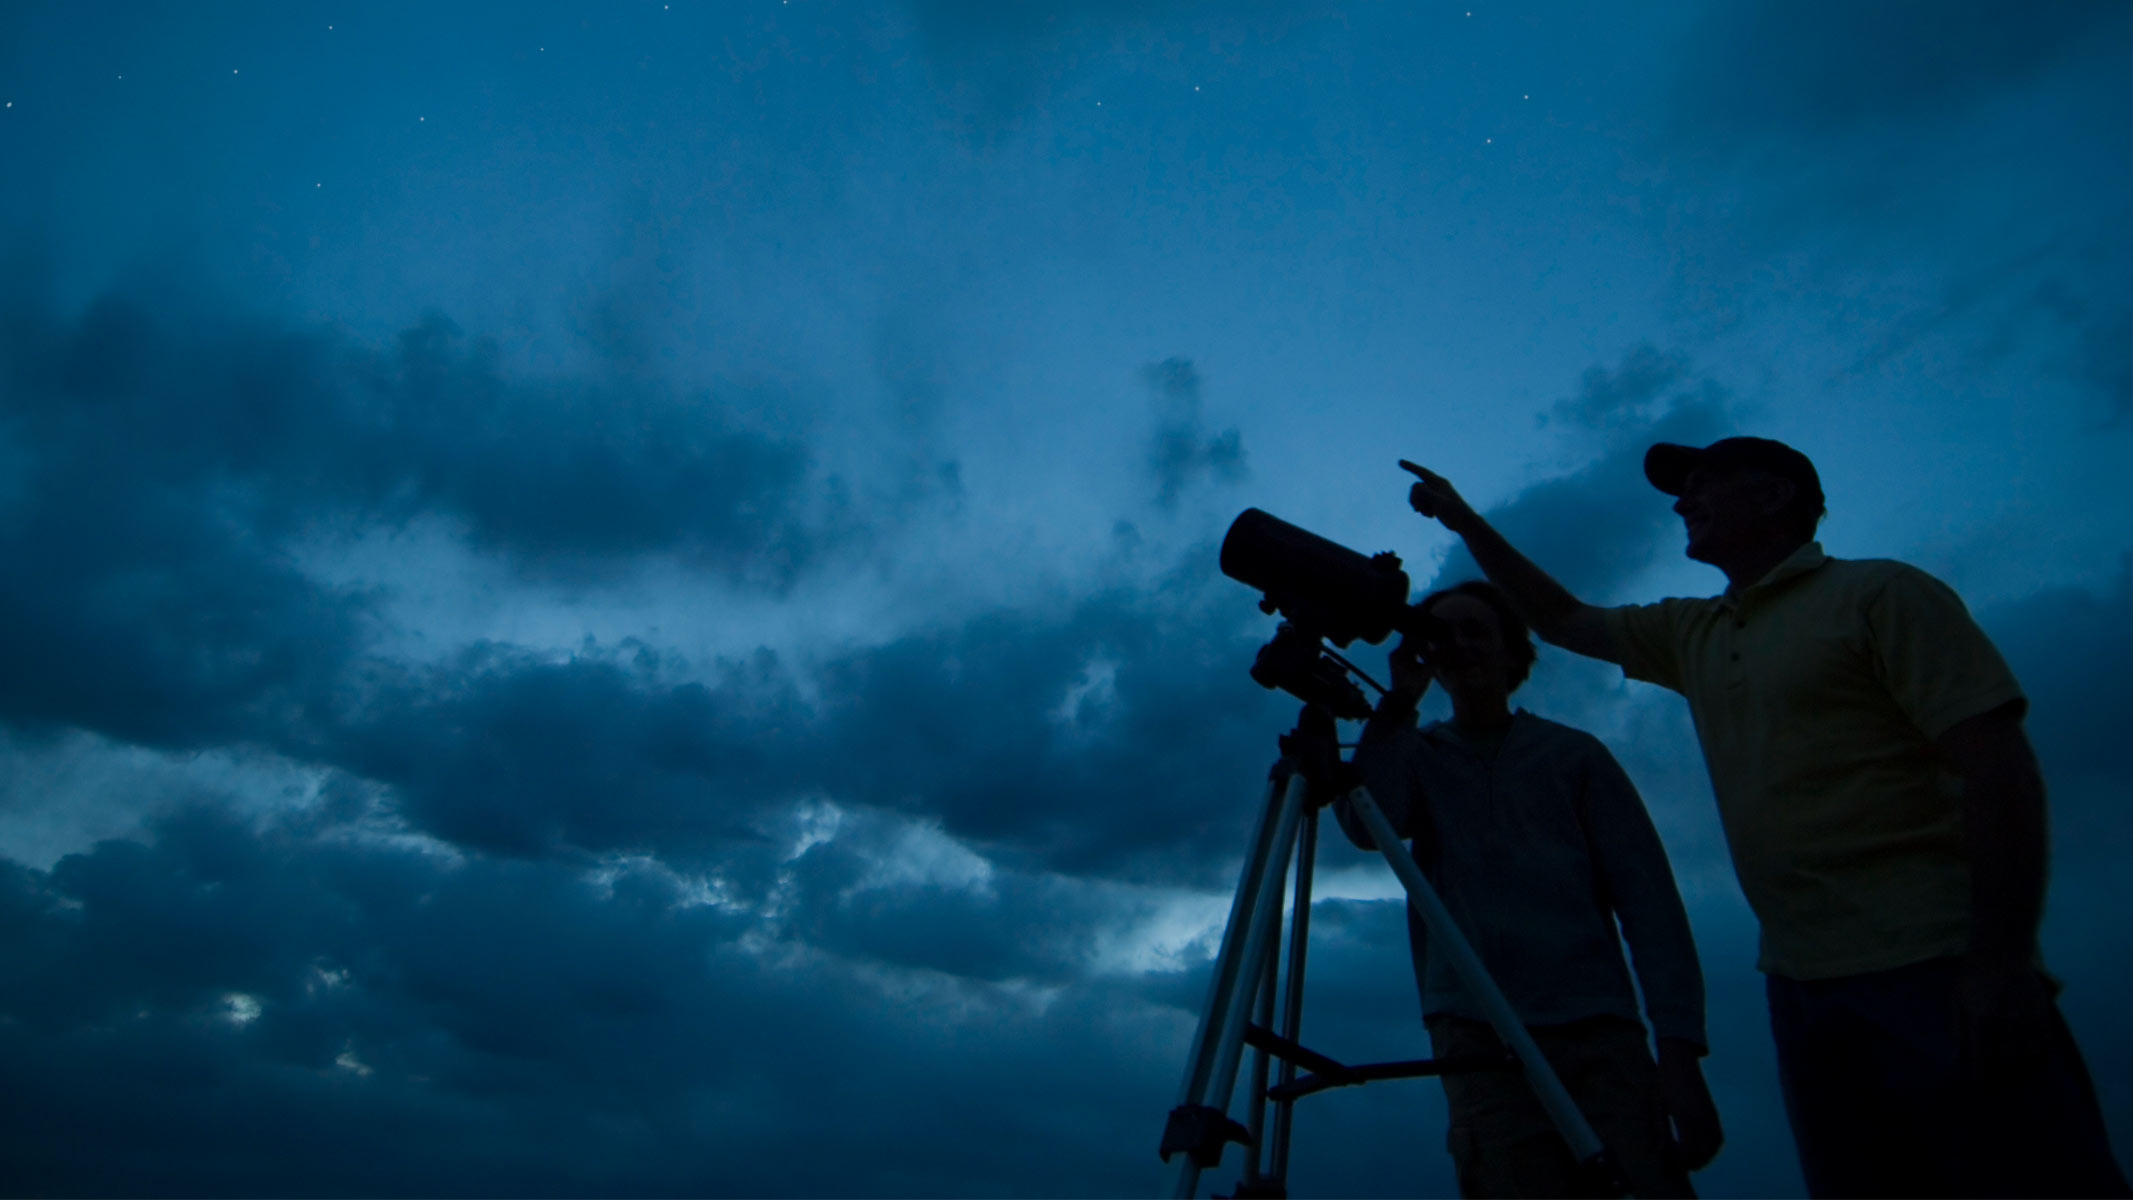
You’re a stargazer interested in the night sky, not telescopes. Look at the night sky. Find a bright anchor star or constellation — maybe the moon, Saturn, Jupiter, Vega, Sirius, Orion’s Belt or the Big Dipper — then, using a simple star chart or astronomy app in night mode, trace a visual path to your target. Don’t feel bad about just stargazing for 15 minutes while you figure out where you are — that’s why you’re here. Know where you’re going to move the telescope before you touch it. Navigating from bright stars to fainter objects is how to be a successful manual observer. With practice, even the faint fuzzies will be within your reach; many manual observers with moderate experience can tell you exactly where, say, the Andromeda Galaxy is in the night sky, even though they can’t actually see it with their own eyes.
With just a few sessions, your skills will improve quickly, and you’ll recognize stars, constellations and patterns more easily — and every object you get in the crosshairs of your manual telescope will feel like your own discovery.
A quick telescope glossary
There are some terms every telescope user needs to know to appreciate how they work and why they’re designed as they are.
|
Term |
Description |
|
Aperture |
The diameter of a telescope’s primary lens or mirror. A larger aperture means more light. |
|
Eyepiece |
The lens you look through; swap between them to change magnification. |
|
Field of view |
The visible area in the eyepiece; wider is better for finding objects. |
|
Finder scope |
The small, low-power scope mounted on the side of the telescope tube, which helps aim your telescope (also called a red dot finder). |
|
Focal length |
The distance light travels inside the telescope, which affects magnification. |
|
Magnification |
The mistaken obsession among beginners. Technically, it’s the focal length of the telescope divided by the focal length of the eyepiece. However, higher magnification isn’t always better, especially when you’re trying to locate and track an object. Start wide, then zoom in. |
|
Slow-motion controls |
Knobs or cables that let you finely adjust the telescope’s aim once you’ve roughly located an object. |